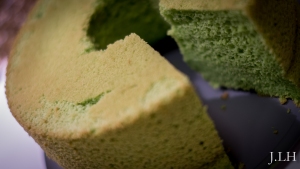
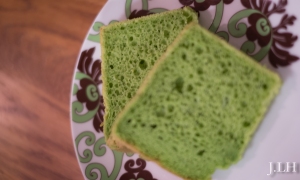
If you have tasted a Pandan Chiffon Cake you’ll understand why it’s “legendary”. Pandan also known as “The Asian Vanilla” (don’t ask me why because it tastes/smells completely different) is a tropical plant that is widely used in South East Asian cooking/baking. Except for serving as an ingredient for baking and cooking, it also has multiple functions, such as a cockroach repellent (personally I’ve never tried), air-freshener and more.
After being more familiar with baking chiffon cakes I decided to take my chiffon cakes to another level, it was time for a Pandan Chiffon Cake.
I prefer using natural and fresh ingredients for my baking, food colorings and artificial extracts is a big no no! Luckily, I’ve got access to Pandan leaves in Stockholm so I was able to get a hold of fresh leaves, otherwise you’ll have to use a Pandan paste or artificial extract.
For a 22cm Pandan Chiffon Cake ( 班蘭雪紡蛋糕)
(a combination of my friend, Erica and Ju, The Little Teochew‘s recipe)
Ingredients:
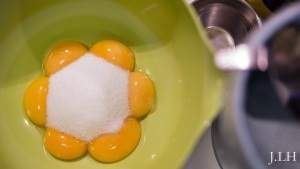
Egg Yolks 7 (the eggs should be in room temperature)
Caster Sugar 95g (can be reduced to 65-70g)
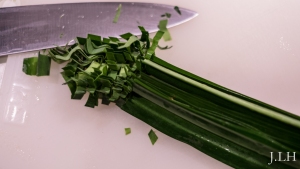
*Extract from fresh Pandan leaves (I used 30 leaves)
Corn Oil 50ml
Coconut Milk 75ml (It’s quite difficult for me to find coconut milk, so I used 50ml coconut cream and 15ml water)
Cake Flour 150g
Baking Powder 1tsp
Salt 1/8tsp (a pinch of salt)
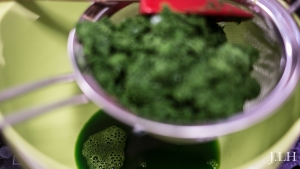
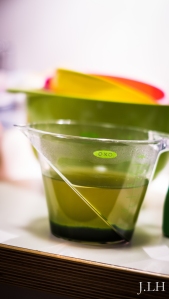
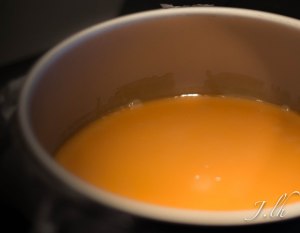
*Wash and chop the pandan leaves (I used 30 fresh pandan leaves) and added roughly 1 cup of water (or else my blender wouldn’t work with me, but try testing your way through) and blitzed in a blender. I squeezed the juice out and left it in the fridge over night and let the chlorophyl settle (it took around 24+ hours). Pour the water out and only use the sediment in the bottom of your container. You’ll then have fresh and concentrated pandan extract for your pandan cake.
Egg Whites 7
Castor Sugar 100g (can be reduced to 90g)
Instructions:
1. Preheat the oven to 160 degrees.
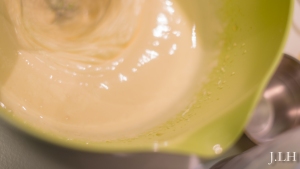
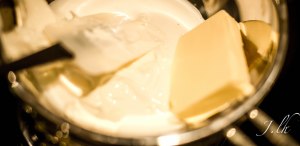
2. Whisk together the egg yolks and sugar in a large bowl until thick and creamy.
3. Mix the corn oil and coconut milk, and add it slowly to the mixture while whisking. Add the pandan extract and mix well.
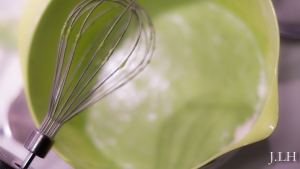
4. Sift flour, baking powder and salt into the batter and whisk until it’s well combined.
5. Whisk the egg whites until soft peaks form, then gradually add the sugar and whisk until stiff peaks form. You know it’s ready when you can flip the bowl over your head and the meringue should not fall.
6. Gently stir one third of the meringue into the batter. Then add the rest of the meringue to the batter and GENTLY fold the mixture in. (You have to be gentle, but at the same time work fast with the meringue).
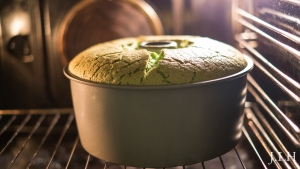
7. Pour the mixture into an ungreased baking pan.
8. Put the cake into the oven and bake it for 45 minutes. (I usually bake my cake for 52 min)
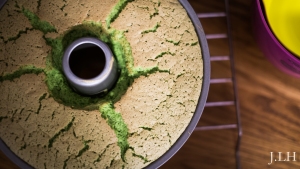
9. Invert the cake and let it cool.
*10. Use a metal spatula or sharp knife to separate the sides of the cake from the pan.
* Wait until it completely cools down, don’t be too eager removing it from the tin, it will ruin the cake. I used to use a knife when I first started baking this cake, but the cake could actually be “damaged” by the knife. The taste and texture is not going to be affected but the cake will look less presentable. So I’ve learnt to remove it just by pressing the sides of the cake, chiffon cake is very “flexible” (once it has cooled down) and the texture won’t be damaged just by pressing it. The cake looks very “proper” when you’ve successfully removed it from the tin. I must admit that I haven’t fully mastered this procedure yet. There are many clips on Youtube that teaches you how to do it, be patient. 🙂